Tips & Tricks
How to Make a Fluted Pie Crust
SHARE


Step 1:
Thaw out Tenderflake® Pie Shell according to package instructions.
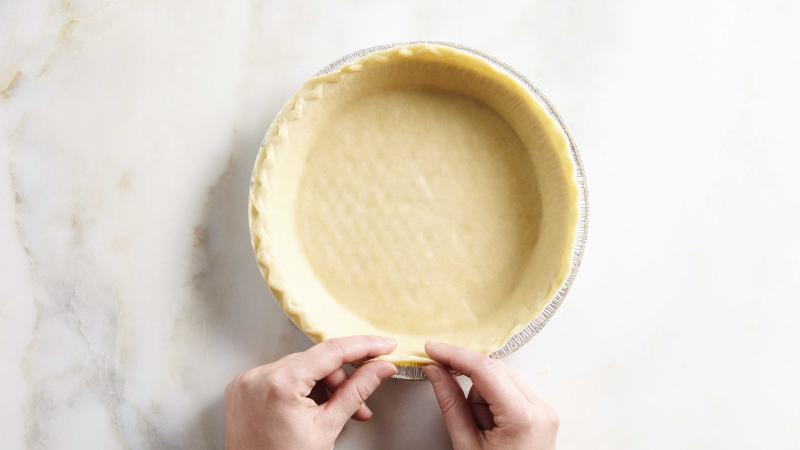
Step 2:
With two fingers (thumb + forefinger) gently flatten out crust along edge of pie shell until flat with no decorative edging.
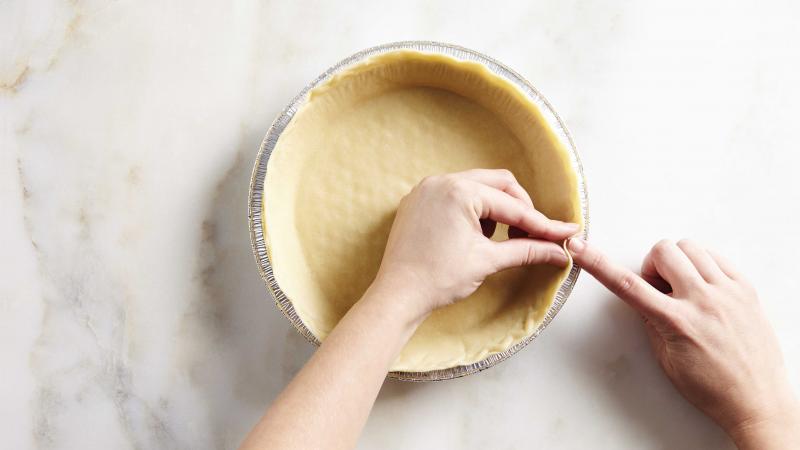
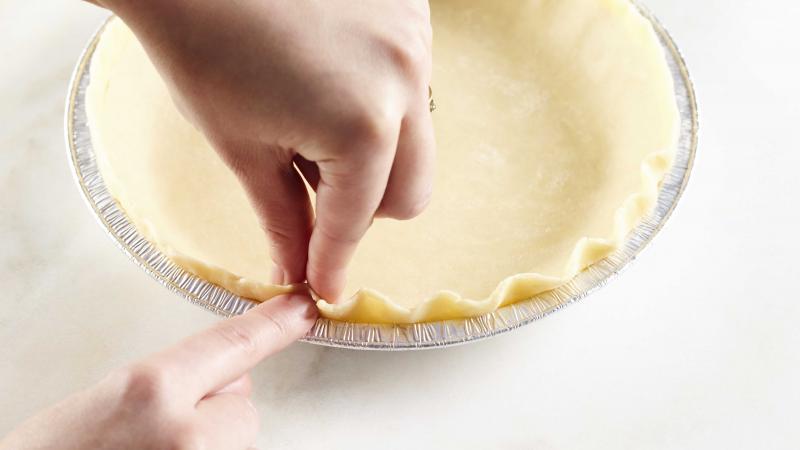
Step 3:
Using the forefinger of one hand as a base, and the forefinger and thumb on your other hand, crimp the crust.
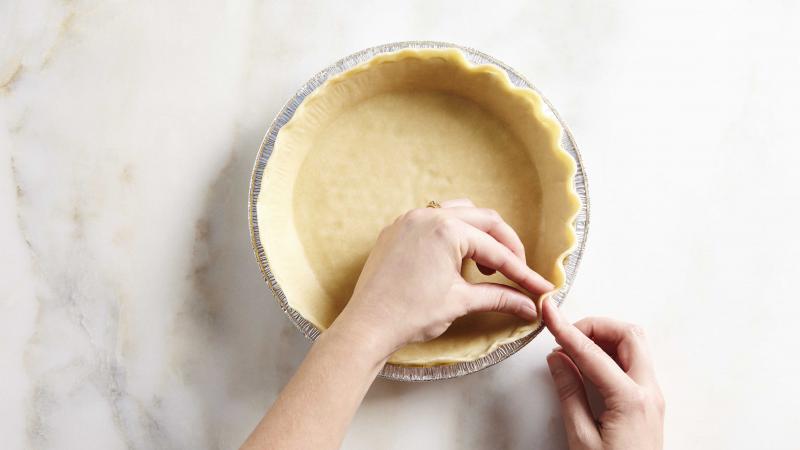
Step 4:
Continue working your way around the crust, fluting the edge, until the entire pie crust has been fluted.
Tip: You can also make a wider fluted edge by using the back of a teaspoon as a guide instead of your fingertips.
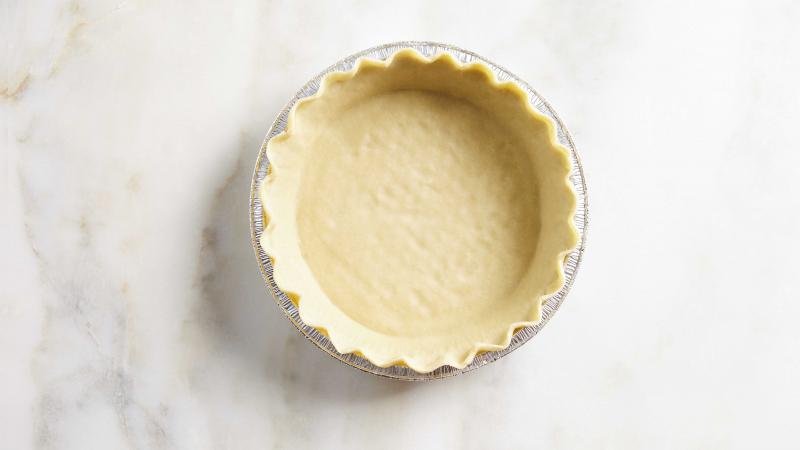
Step 5:
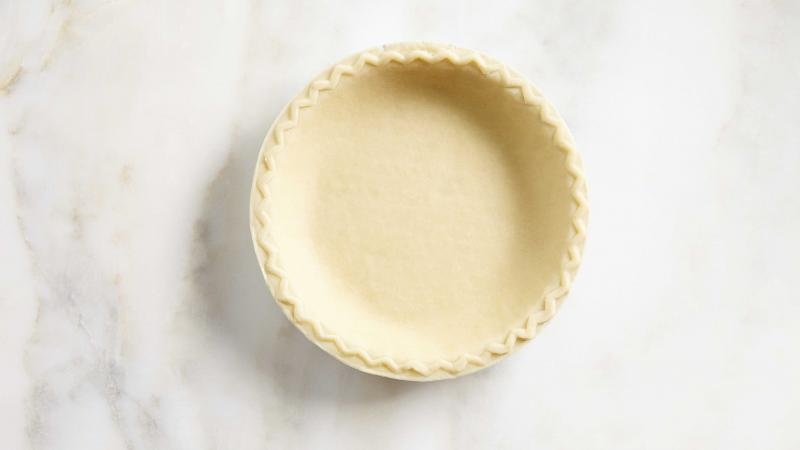
You have now completed fluting the edge of your pie and are ready to bake!